A few years ago, I made a valiant attempt at creating a sourdough starter and baking bread from it. I was hoping to do this for my daughter, who has struggled with gut issues her whole life. Lots of research shows how helpful sourdough-started-based goods are and easier to digest on troubled tummies.
Well, as with most things you try the first time, I just couldn’t seem to get my starter nice and bubbly on a regular basis. I had a few good loaves, but a lot of lackluster ones.
Then I got pregnant with my fourth kid and cooking/baking totally fell off my priority list.
Almost three years later and being home with COVID-19 has inspired me to put back on my “pioneer bonnet” and give this thing a VERY big go.
I learned to not repeat my mistakes from my first round (use white flour instead of wheat for now, and not place it in the refrigerator until I had a really solid starter). I found an AWESOME YouTube video that I personally feel is the best tutorial out there both for a starter and to bake bread, and I recalled all I’ve learned about sourdough from Kelsey Hansen on Instagram, who first introduced me to it.
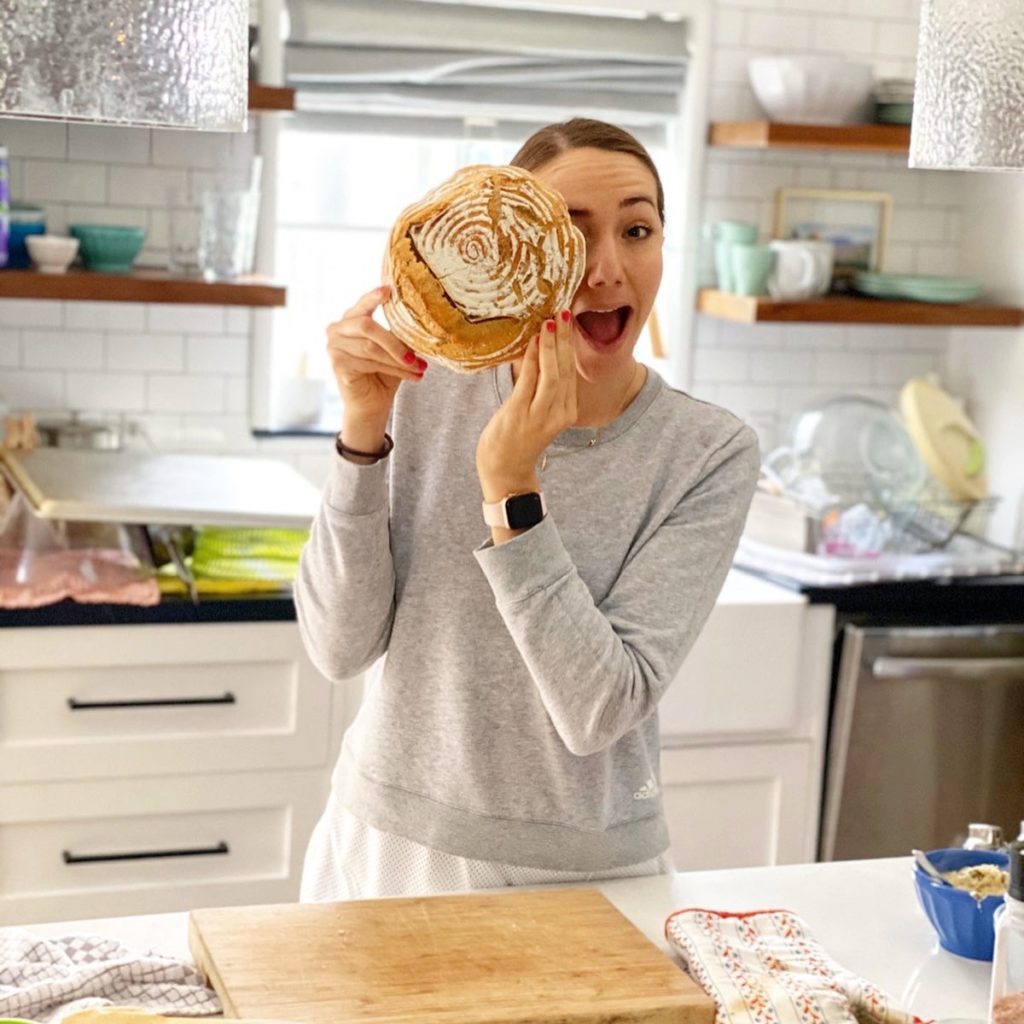
It took 14 days to create a solid starter and two failed attempts at making bread along the way to officially declare: I am now a sourdough baker. See evidence of our first great loaf, which we were instructed by Brad to ogle over like a newborn babe.
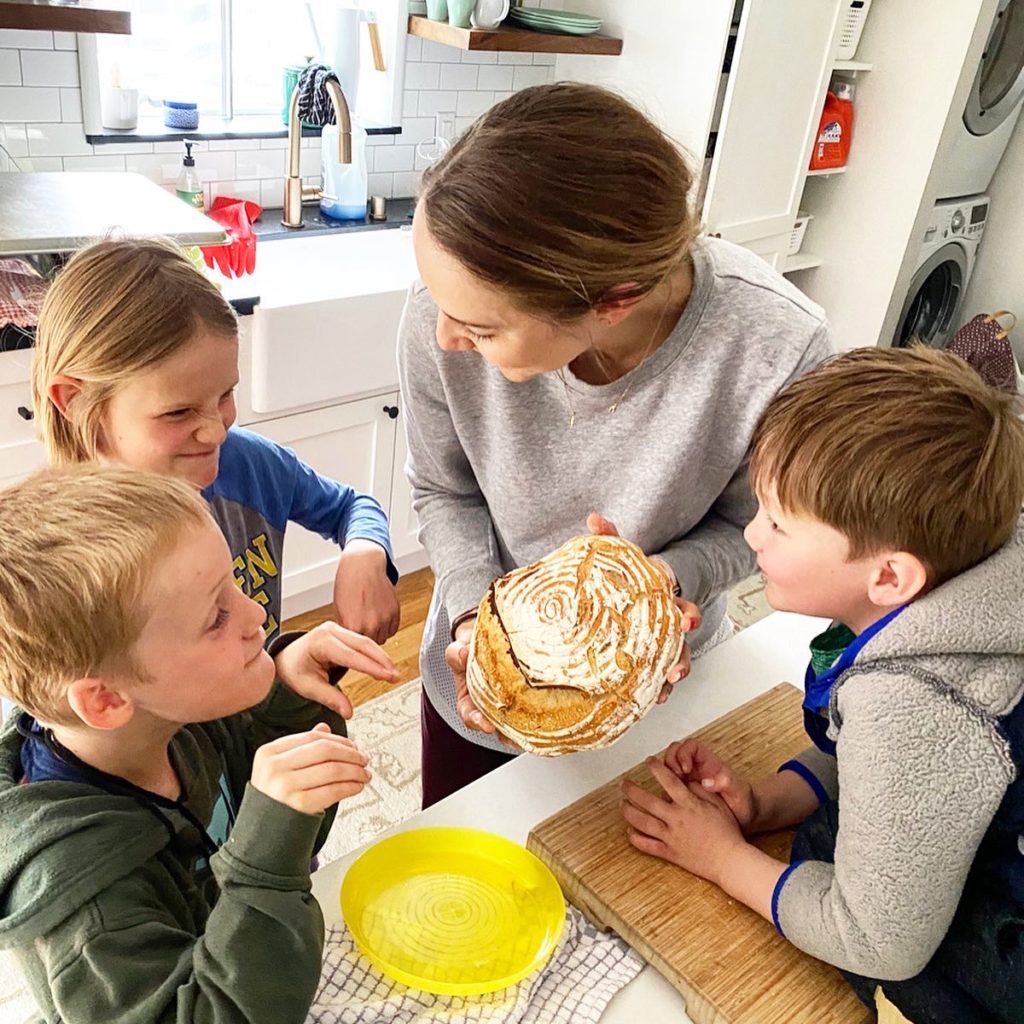
We are now baking all the bread and sourdough pancakes, and it is indeed very glorious and makes you feel like a rockstar. A pioneer rockstar.
I am still an amateur so I won’t pretend to teach you all I know; but I can still give you list of GREAT tools if you are ready to get super serious about your own sourdough starter.
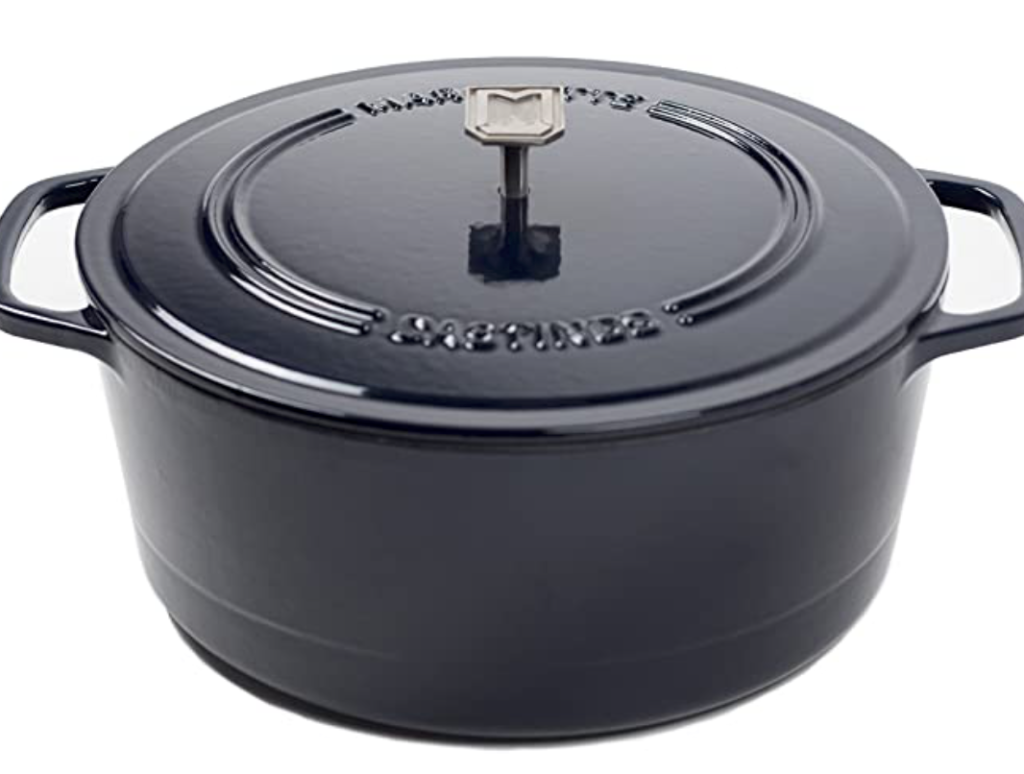
Cast Iron Dutch Oven I originally got this for my first failed attempt at sourdough baking, but then it became my most used cooking tool. I think this is ABSOLUTELY worth it, not just to bake in but to cook anything. If you end up not loving sourdough baking, this dutch oven will still be beloved. AND it doesn’t cost $300 like the fancy ones.
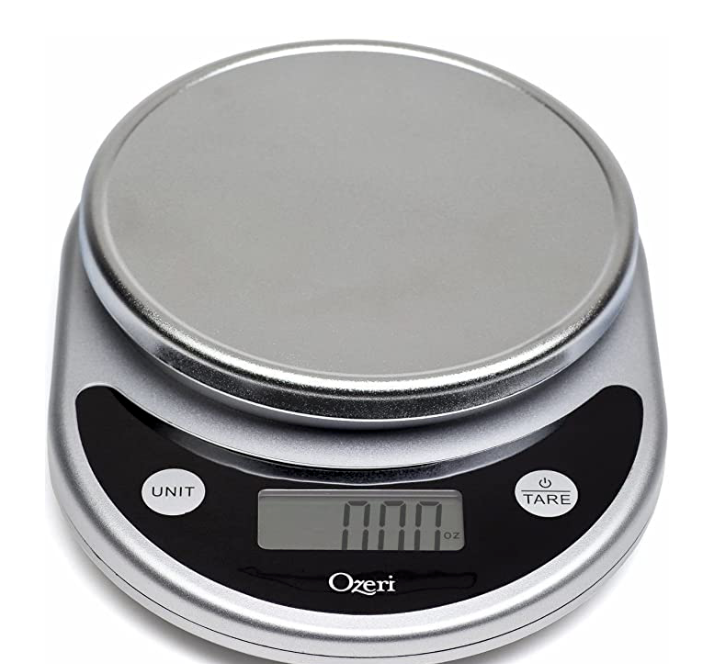
Food scale. I’m not a macro-counter, but this scale has become indispensable with baking. I really think it would be difficult to make a good sourdough starter and bake well without a food scale in your kitchen.
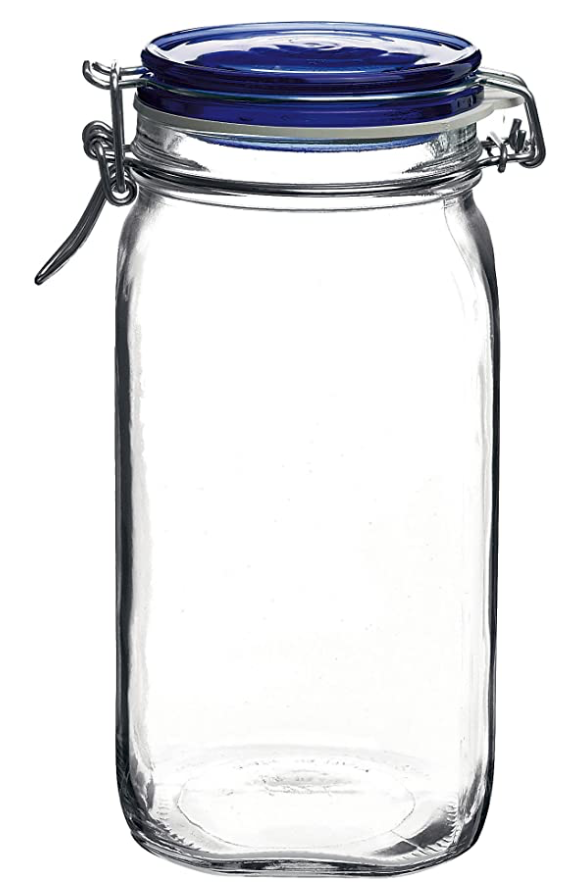
This glass jar is tall with a wide opening–which is super helpful for mixing your starter in. It gives it lots of room to grow without worrying about overflowing AND you can mix away without it all coming out. Also, I slightly close the metal clasp so just enough air gets in, but I don’t have to worry about surprise bugs.
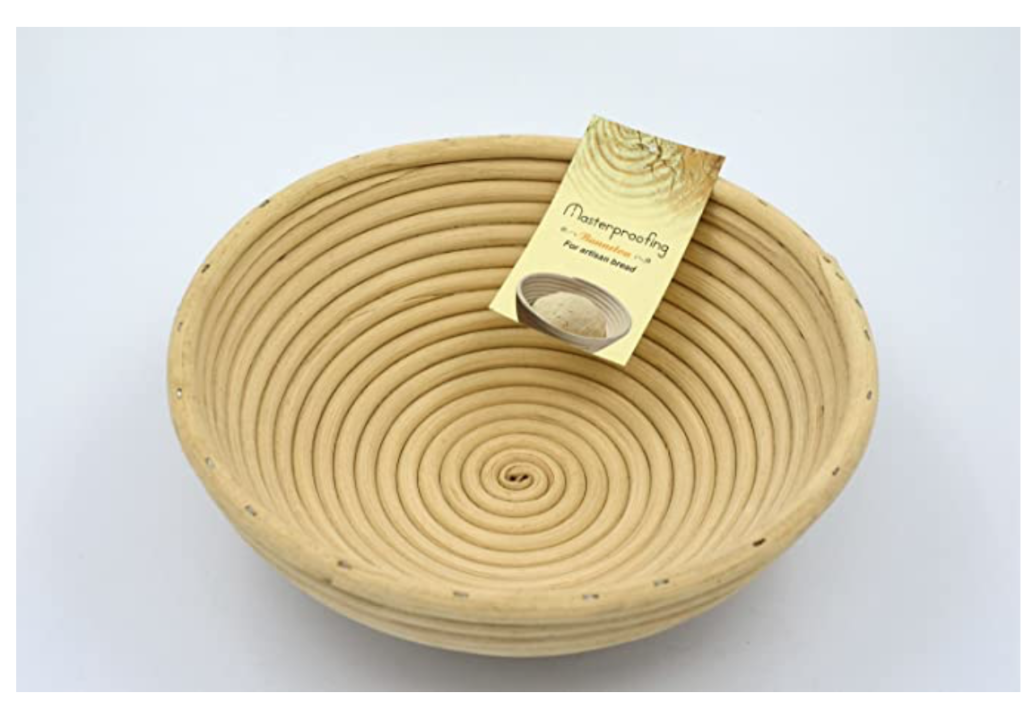
A banneton proofing basket makes proofing very convenient. Plus, it give your bread a pretty shape that makes you feel extra legit. Tip: use more flour than you think and don’t wash it afterward. Just tap off the flour after baking and use a dry brush for dishes to clean out (again, not wet).
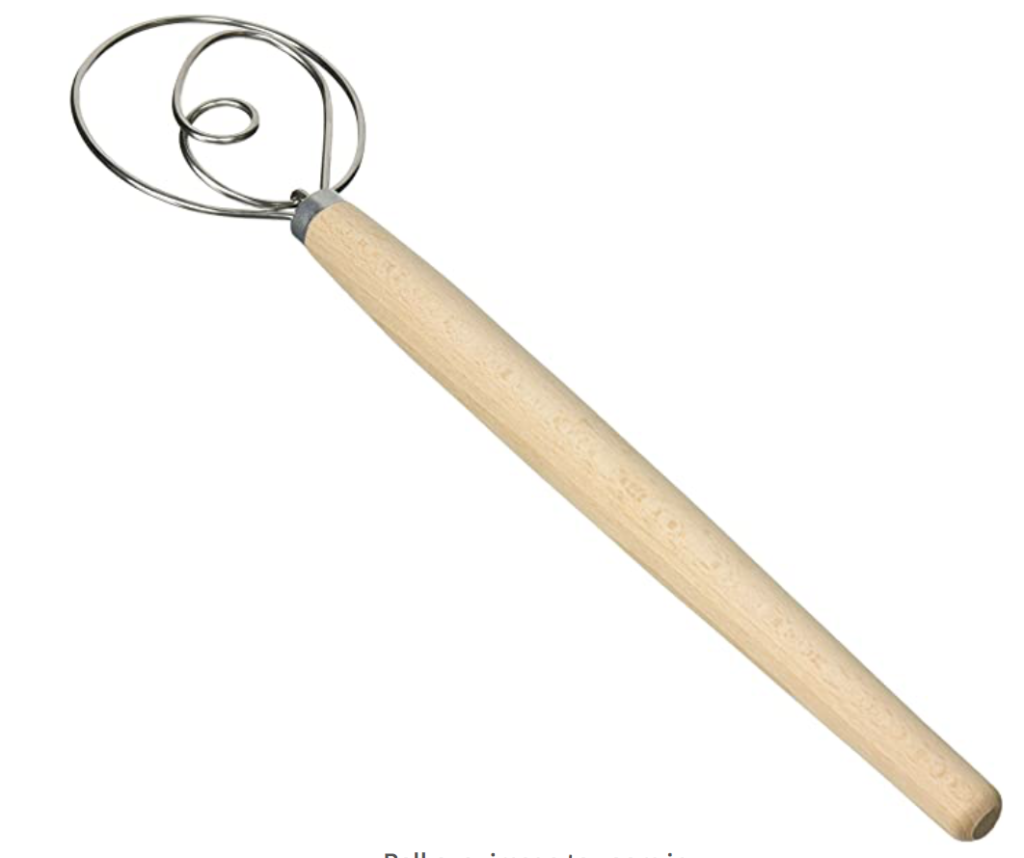
Danish Dough Whisk. This really makes mixing your dough together a breeze. A normal traditional whisk would be SUCH a headache, believe me. I loooooove this whisk and use it on other baked goods, too.
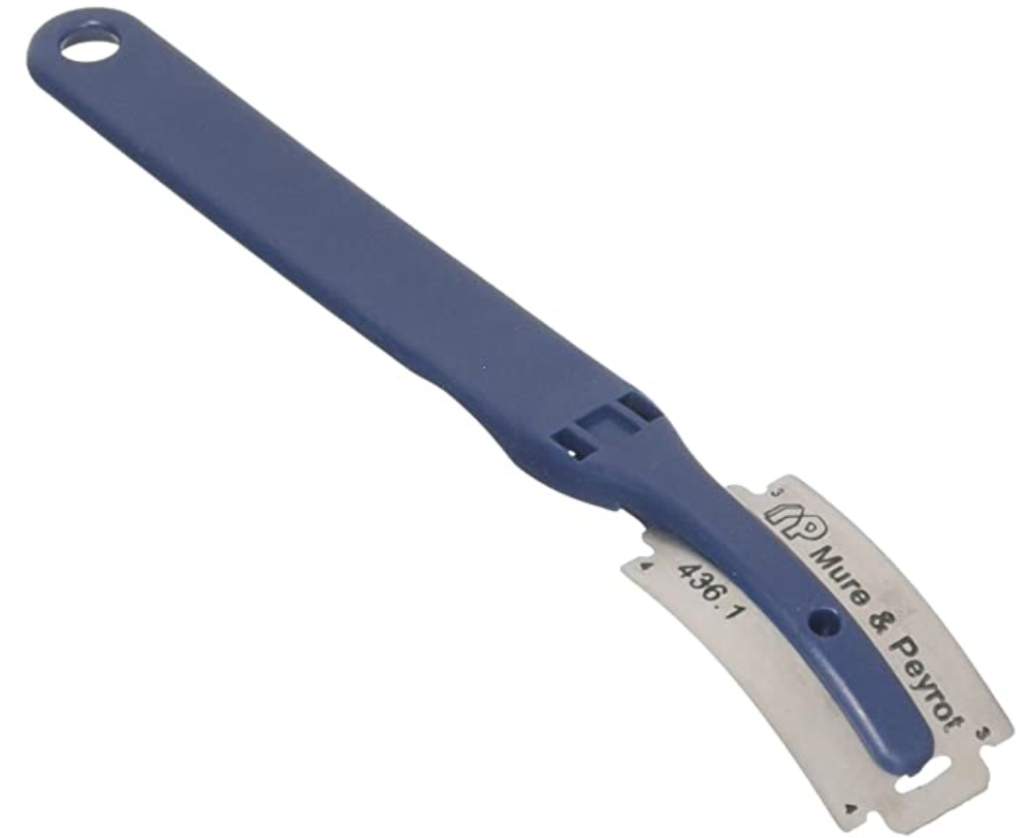
Scouring tool. Cutting proofed bread with a normal knife is risky because you could deflate all your hard work. While this tool is SHARP and one I would triple check is far away from little ones’ reach, I am so happy I have it around.
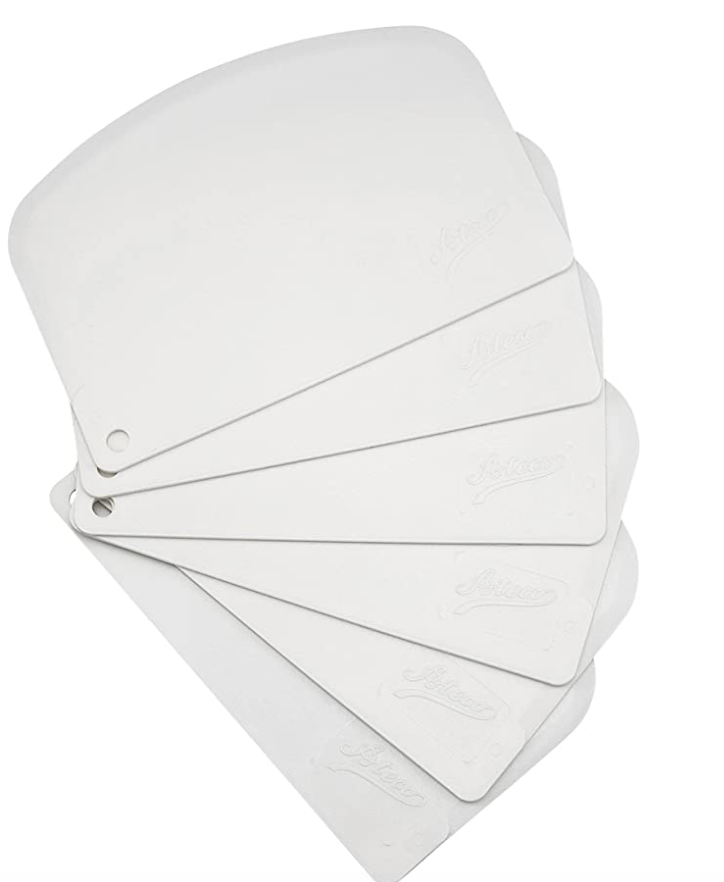
Bowl Scraper, here or here. The dough is supppppper sticky when you’re kneading it. DO NOT keep adding flour because it’ll just keep soaking it all up and you’ll be left with dense bread. I use a bench scraper to help me knead and move the dough into the proofing basket. Mine is metal, but I included plastic and silicone ones here because they’re less scary on your counter.
Do you need all of these things? Nope. That video I reference will show you another option to proofing and baking your bread. But, these are still my reccs. If I had to choose, start with the dutch oven and the scale. Everything else can come with time!
Anyone else giving sourdough a go? Tell me YOUR tips and what you’re baking with it!
